
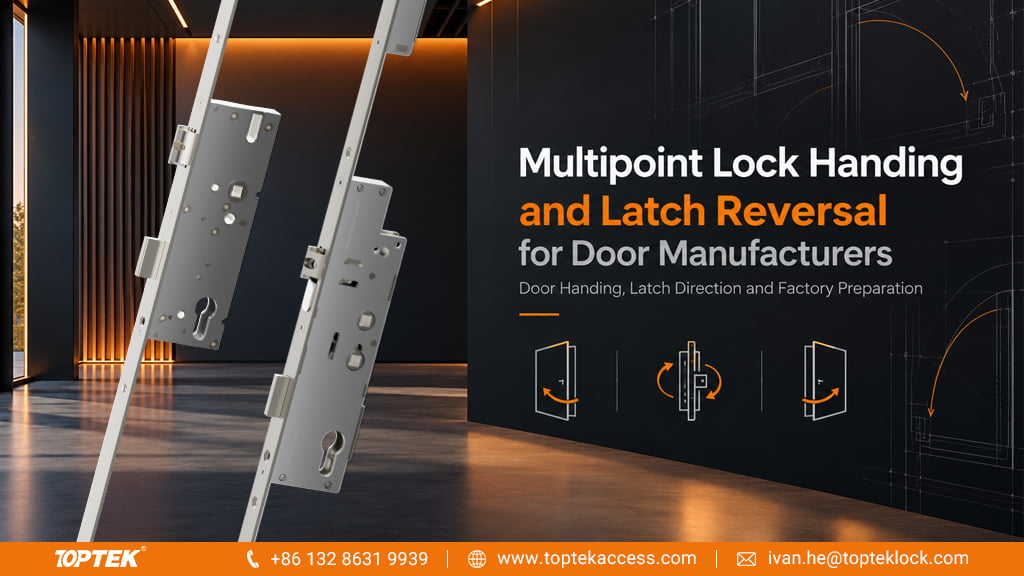

Multipoint lock handing and latch reversal should be agreed through a door drawing and the exact lock instructions. A left or right label alone can be ambiguous, and a reversible latch does not settle every component’s orientation. For door manufacturers, the practical task is to supply an assembly that closes, locks and releases correctly on the intended leaf. Start with the required function and the TOPTEK multipoint locking range, then record how the lock, trim and frame components fit that opening.
TL;DR
- Show the viewing side, hinge side and swing direction on one labelled drawing.
- Separate latch-bevel orientation from inside and outside operating functions.
- Confirm whether each selected model is factory handed or has an approved conversion method.
- Check auxiliary locking points, triggers, keeps and trim as part of the assembly.
- Retain the accepted orientation in production, packing and replacement records.
Quick Answer
To specify multipoint lock handing and latch reversal, identify the door from a declared viewing side and show its swing, hinges, inside and outside faces. Ask the supplier to translate that drawing into the correct part and configuration. If the selected latch can be reversed, use only its model-specific instructions and confirm whether other components need different versions or settings. Test closing, locking and release in the intended door assembly after conversion. Do not assume that turning the spring latch also changes the lock’s operating function, escape side or remote locking-point arrangement.
Describe the opening before assigning a hand
Use a plan view of the opening with a clear viewing arrow. Label the two faces by their actual roles, such as corridor and office, rather than relying only on a photograph that may be mirrored or taken from an unknown side. Add the hinge position and direction of travel. Then state the handing convention used by the supplier or project schedule.
Different conventions can attach different meanings to a short left or right description. The drawing resolves that uncertainty without requiring every participant to remember the same terminology. Ask the supplier to return the agreed hand and configuration against the drawing reference. A purchase order should preserve that reference, not reduce the approval back to an unexplained two-letter code.
For paired doors, identify the active leaf and any secondary leaf function. Show the frame or meeting-stile relationship that the lock must engage. The inside face is not necessarily obvious from a workshop photograph of an uninstalled leaf. A small arrow and a named room can prevent an expensive assumption before machining or assembly begins.
Keep latch direction separate from operating function
A bevelled spring latch presents a shaped contact face to the strike as the leaf closes. Its orientation must suit the intended closing movement and the specified receiver. Reversing that part, where the manufacturer permits it, addresses that physical contact. It does not automatically change which handle operates the locking points or what a key does.
Multipoint systems can use automatic engagement, handle-driven locking or cylinder-driven operation. Record the expected sequence for the selected model. Identify what the inside handle, outside handle and key must each achieve, including any additional deadlocking step. These are functional requirements that remain important even when the latch can face either direction.
The cylinder and handle compatibility guide covers those operating interfaces in more detail. Use it alongside the handing record. A correct latch bevel cannot compensate for an unsuitable spindle arrangement or a trim set that provides the wrong outside operation.
Confirm the conversion scope for the exact model
Ask a precise question: which parts of this supplied assembly can be converted, by whom, and using which instruction revision? A product may have a reversible latch while another component remains handed. A factory configuration may also carry options that change the available procedure. Get the answer for the complete order code rather than an entire product family.
As a manufacturer-specific example, the FUHR multitronic 881 brochure, page 31, describes left or right use through a reversible latch for the product covered there. This demonstrates how reversibility can be stated for a defined system. It does not establish an interchangeable mechanism, a conversion procedure or the same feature for every TOPTEK multipoint model.
Where the documentation is unclear, obtain the supplied hand from the factory or request the correct instructions before work begins. Do not identify a supposed release screw by appearance. Removing an unrelated screw can disturb the mechanism, and opening a sealed case may exceed the permitted service scope. The buying decision should resolve that uncertainty before the batch reaches the assembly line.
| Assembly item | What to confirm | Evidence to retain |
|---|---|---|
| Spring latch | Required contact direction and permitted reversal | Model-specific instruction and accepted photograph |
| Inside and outside followers | Which input operates which function | Functional description and trim schedule |
| Auxiliary lock units | Orientation, engagement path and matching receiver | Assembly drawing and component references |
| Automatic trigger | Required contact with the frame component | Specified installation detail |
| Handle and escutcheon | Handed shape, fixing access and operating side | Approved trim configuration |
| Electrical options | Any side-specific function or cable arrangement | Exact version’s interface documentation |
Check the remote points and frame components
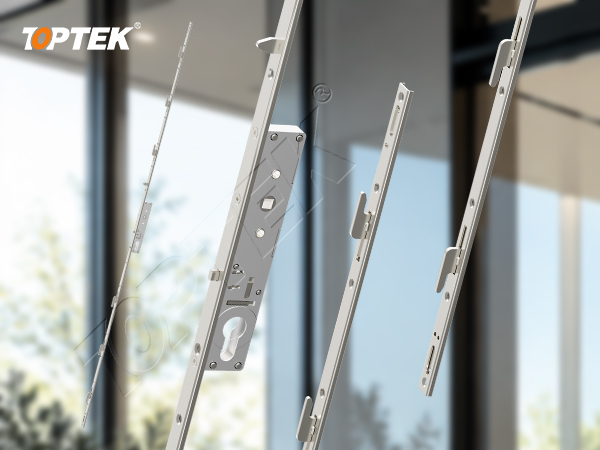
A long lock assembly has more interfaces than the centre latch. Inspect each remote point’s intended engagement with its keep and compare the whole strip with the approved drawing. Hooks, bolts and automatic triggers may have specific relationships to the frame. Their suitability should be established from the design, not from an assumption that the entire strip can be mirrored.
Keep the lock in the stated installed orientation during identification. Rotating an assembly for a photograph can make the top and bottom appear interchangeable when they are not. Include a top marker and the handle centre reference in workshop records. Label any loose auxiliary units and receivers before they are separated from the sample set.
For an automatic system, the door trial should include the specified trigger sequence. A latch that closes smoothly is only one observation. Confirm that the remote points engage at the intended stage and that the operating inputs release the assembly correctly. Follow the manufacturer’s method for handling an uninstalled automatic mechanism; do not improvise trigger operation to force a bench demonstration.
Control a permitted latch reversal at the workbench
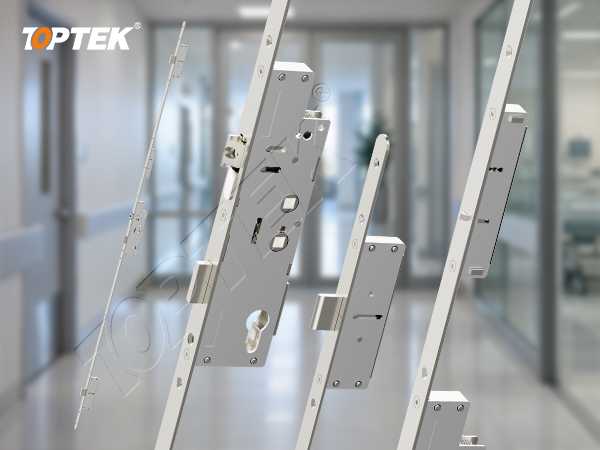
Before a permitted conversion, identify the exact lock and confirm that its condition is suitable for the procedure. Keep the instruction available at the work station and use the specified tools. Support the long assembly so that handling does not bend the faceplate or load the linkage. Protect moving components and keep loose parts together.
The actual conversion method must come from the supplier’s instructions. Record the completed orientation and have the responsible technician verify that the latch returns freely and remains correctly retained. Where an instruction specifies a fastener setting, use that value for that part; do not apply a generic torque from another lock. Any unexpected resistance, missing component or uncertain retention should stop the conversion until the cause is resolved.
For repeat orders, decide whether the factory will supply the final hand or the door manufacturer will perform an authorised conversion. This decision affects labour, identification and quality control. Mixing the two approaches without clear labels creates an avoidable risk: the assembly line may reverse a latch that was already supplied correctly.
Use a door trial to confirm the supplied orientation
Fit the approved lock, cylinder, handles and keeps in the intended sample door using the relevant installation details. Confirm the physical closing path first. Then observe the agreed locking sequence and release from each authorised operating position. Check the required exit behaviour for the selected function without assuming that all multipoint locks provide the same escape operation.
Document the door’s orientation in the test record itself. A successful trial labelled only as a right-hand sample may be difficult to interpret later if the drawing convention is lost. Use the same opening identifier, viewing arrow and inside/outside labels in the drawing, photographs and results. Include both the normal operating sequence and any specified key-control condition.
When a problem appears, separate wrong orientation from a fit problem. Excessive seal compression, a displaced keep or a distorted faceplate can cause resistance even when the hand is correct. Preserve the observation and refer it to the responsible installer or supplier before changing several variables together. A controlled correction is easier to verify than a series of undocumented adjustments.
Carry the accepted hand into production and the RFQ
TOPTEK’s current multipoint range includes PD1000, Auto Lock and MUSG4592. Use the Auto Lock product reference to begin a configuration discussion, then request the applicable handing and conversion information for the chosen model. Do not infer a universal reversal method from a product photograph or transfer a procedure from a different platform.
Why TOPTEK? Reviewing the multipoint system within a commercial door hardware enquiry allows the lock, cylinder and trim requirements to be considered together. The quality management information provides a basis for discussing sample references and batch identification. Exact capabilities and evidence should be confirmed for the ordered configuration.
- Submit a labelled plan view with the viewing side, hinges and swing.
- State the model, operating sequence and inside/outside functions.
- Include the trim, cylinder, remote points and keep references.
- Specify factory-supplied orientation or an approved conversion responsibility.
- Attach the sample acceptance record and required documentation.
- State quantities for each configuration and the packing labels needed.
Send the door orientation drawing for a configuration review before releasing production quantities.
Frequently asked questions
Does a reversible latch make the entire multipoint lock non-handed?
Not necessarily. Confirm the orientation and function of the complete lock, trim, remote points and frame components.
What is the clearest way to specify left or right?
Provide a drawing that labels the viewing side, hinges, swing direction and inside and outside faces, then confirm the supplier’s handing convention.
Can I use another brand’s latch reversal instructions?
No. Use the instructions for the exact supplied model and configuration.
Should I test the lock after reversing an approved latch?
Yes. Verify retention and return as instructed, then check closing, locking and release in the intended door assembly.
What should production packing labels show?
Show the model and configuration, agreed hand, drawing revision and whether the latch is already in its final orientation.
Order a defined orientation
A complete handing record connects the door drawing with the supplied lock and its operating sequence. Keep that record with the accepted sample so that repeat orders do not depend on memory or an ambiguous label. Request a quotation by model, orientation and quantity once the configuration is agreed.
Děkuji za skvělý přehled. Oceňuji hlavně radu, jak správně specifikovat orientaci zámku pomocí výkresu, aby se předešlo nejasnostem ve výrobě.