

CE Night Latch vs Classroom Mortise Lock: Outside Access and Egress Guide
TL;DR
Choose a night latch when the closed door should automatically latch, the outside lever remains fixed or disabled, and outside entry retracts the latch by cylinder key. Choose a classroom function when authorised key control must change the outside lever between locked and unlocked states while the inside lever remains free for egress.
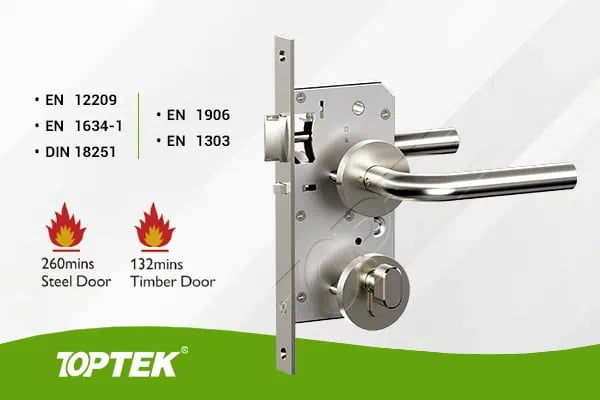
Start with the EN 12209 / CE Mortise Lock product hub, then use this narrower guide to define the required function and approval evidence.
Quick Answer
The decisive difference is the outside control. Night latch provides key-operated latch retraction from outside with a fixed or disabled lever. Classroom function uses the key to lock or unlock the outside lever. Demonstrate both states on the exact sample.
The functional difference
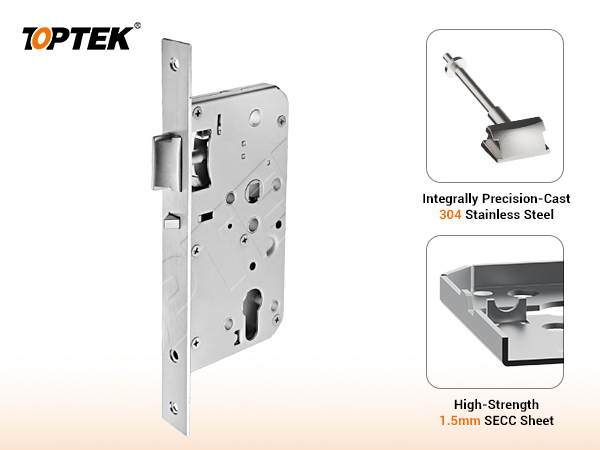
TOPTEK describes the night latch as automatically latching when closed. Its outside lever is fixed or disabled, the outside key retracts the latchbolt, and the inside lever provides free egress.
TOPTEK describes the classroom function as an outside lever that can be locked or unlocked by key. When locked, that lever cannot retract the latch; the inside lever remains available for egress.
Turn the function name into an operating sequence
A useful EN 12209 / CE Mortise Lock schedule does not stop at a room label or catalogue function. It states who approaches from each side, which control changes the outside condition, what the latch and any deadbolt do, and how a person leaves from inside. For the search intent “CE night latch vs classroom mortise lock”, this plain-language sequence is the first approval record.
Write normal, secured, authorised-entry, emergency-access and inside-egress states. If a state is not relevant, mark it not applicable instead of deleting it. This prevents purchasing, installation and commissioning teams from inventing different answers later.
Match the access policy
Night latch is useful where every outside entry should require cylinder operation. Classroom function suits an opening where authorised staff need to change whether the outside lever operates freely. Those are different key-control and user-training requirements.
Do not let the words hotel, office or classroom make the choice. Write whether the outside lever ever has an unlocked operating state and whether the key must retract the latch for each outside entry.
Coordinate the complete opening
The lockcase works with trim, cylinder or turn, spindle, door preparation, strike, closer and key or access policy. A correct function inside the wrong set can still produce a failed sample. Link every selected component to the opening number and drawing revision.
Use the EN 12209 / CE mortise lock hub only as product references. A web photograph or trim name cannot prove internal function, dimensions, evidence scope or suitability for a particular doorset. Request the current configuration drawing and applicable original evidence.
| Decision | Night latch | Classroom |
|---|---|---|
| Door closing | Automatically latched | Latch operates normally |
| Outside lever | Fixed or disabled | Key locks or unlocks |
| Outside entry | Key retracts latch | Lever when unlocked; key control when locked |
| Inside operation | Lever retracts latch | Lever always free for egress |
| Approval | Show every keyed entry | Show locked and unlocked lever states |
Approve evidence at configuration level
A family page can show the available product direction, but certificates, test reports and declarations apply only to their stated model, construction and scope. The buyer should request the document needed by the project and compare identifiers with the quoted and sampled configuration.
Do not convert an internal development statement, marketing badge or adjacent model result into third-party approval. Record unresolved evidence as an open action, with an owner and due date, before production release.
Build a controlled comparison matrix
Place the two candidate configurations in adjacent columns and compare only fields that can be approved: outside operation, inside operation, latch and bolt state, cylinder or turn interface, trim, preparation, evidence and sample reference. This makes a missing answer visible instead of burying it in email threads.
Use one row for every opening variation. If a project changes the door thickness, hand, trim, keying or emergency-access method, treat that row as a separate configuration until the responsible reviewer confirms equivalence. A comparison matrix is a purchasing control, not a declaration that two products are interchangeable.
Buyer approval checklist
- Opening number, room use and door direction
- Plain-language inside and outside operation
- Lockcase function and exact model reference
- Trim, cylinder or turn, spindle and fixing interfaces
- Door thickness, edge preparation, strike and closer
- Keying or emergency-access responsibility
- Required evidence and applicable configuration
- Labelled sample, revision and acceptance owner
- Repeat-order change-control reference
Control the sample review
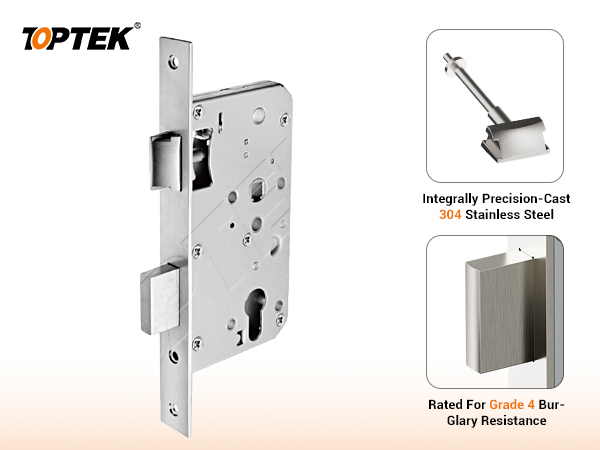
Operate the sample from both sides in every scheduled state. Observe latch engagement, bolt movement, lever return, privacy or key control, emergency access and inside release. Compare the physical sample with the drawing rather than approving appearance alone.
Photograph the label and record the sample reference, but retain a signed operating checklist as the real approval evidence. If trim, cylinder, hand, preparation or function changes, reopen the affected checks.
Plan installation and handover
Give installers the approved preparation and operation sheet, then verify the first installed opening before repeating the work. Handover should identify keys, tools, controls and maintenance responsibilities.
Keep the approved sample or an equivalent signed record available when later batches arrive. This supports incoming inspection and prevents an unrecorded accessory change from altering the intended operation.
Common mistakes and project risks
Common errors include choosing from the room name, assuming similar trim means similar function, omitting the emergency state, and accepting a quotation that does not repeat the selected interfaces. These shortcuts hide ambiguity until doors are machined or occupants begin using the opening.
Consequences can include replacement lockcases, re-machining, revised keying, delayed inspection, confusing user behaviour and uncontrolled site modifications. Stop and clarify the required state rather than adapting parts informally.
RFQ checklist
Send the door schedule, operating sequence, function, exact model or approved equivalent, trim, cylinder or turn, spindle, door thickness, preparation, strike, closer, finish, evidence list, sample quantity and acceptance owner. Ask the quotation to mark every assumption and missing field.
Require quotation, drawing, sample label and order acknowledgement to carry one configuration reference. This creates a traceable boundary between an approved product and a look-alike substitution.
Why TOPTEK
TOPTEK can review a marked-up schedule, translate shorthand into operating states and identify missing interfaces before quotation. The team can then align product reference, drawing, sample and production record around the same decision.
This process does not replace the responsible consultant, authority, installer or system designer. It gives those parties a clearer record to approve and makes repeat-order changes easier to detect.
Two-level CTA
For an initial review, send the opening list and describe how each door is entered, secured and exited. Highlight uncertainty instead of guessing a function code.
For a formal RFQ, submit the approved schedule, drawings, component interfaces, evidence requirements and sample protocol through the TOPTEK contact page. Request a configuration-specific response.
Conclusion
The right answer to CE night latch vs classroom mortise lock comes from the required operating states, not from a broad product label. Separate function, physical interfaces, evidence and approval responsibility, then test them together on the identified sample.
Preserve the decision through quotation, drawing, sample, production and handover. That discipline reduces replacement risk while keeping product claims within the evidence actually reviewed.
Frequently asked questions
What is the main difference between night latch and classroom functions?
Night latch uses the outside key to retract the latch with a fixed or disabled outside lever; classroom function lets the key lock or unlock the outside lever.
Do both functions allow inside egress?
The TOPTEK descriptions used here provide inside lever egress for both functions; confirm the exact assembly and project requirements.
Does a night latch lock automatically?
It automatically latches when the door closes; describe the required security state precisely rather than treating latching and deadbolting as the same thing.
Should every classroom use classroom function?
No. Select from the required access policy and approved schedule, not the room name alone.
What belongs in the RFQ?
Include outside and inside states, cylinder and trim interfaces, preparation, evidence and a labelled sample test sequence.