
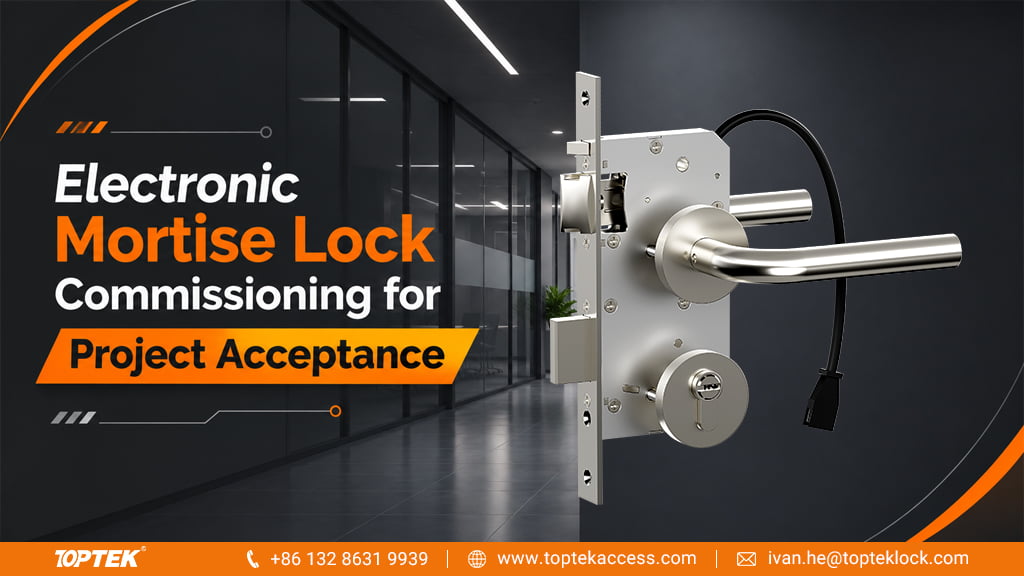

An electronic mortise lock commissioning checklist should establish what happens at the installed door when a user enters, leaves and lets it close. An “access granted” event confirms a controller decision; it does not prove that the lock released, the door opened or the opening secured again. For integrators and project buyers, acceptance needs a physical result beside each relevant system event.
TOPTEK’s electronic lock and access control range includes motorized and solenoid-controlled mortise locks. The required checks depend on the supplied function. Agree that function and the wiring revision before commissioning so the site team knows which result constitutes a pass.
Start with the chosen lock and the real door
The TKEUS3592 solenoid-controlled self-locking mortise lock is one TOPTEK option for projects requiring electrically authorised outside access and an automatic locking sequence on closing. Its supplied configuration must be identified alongside the handles, cylinder, strike, controller and connection drawing.
TOPTEK also offers conventional and cross-latch configurations within its European electronic-lock range. These are physical alternatives, so acceptance should identify the actual latch fitted. A photograph of a related model cannot substitute for the ordered configuration or prove that all options are installed.
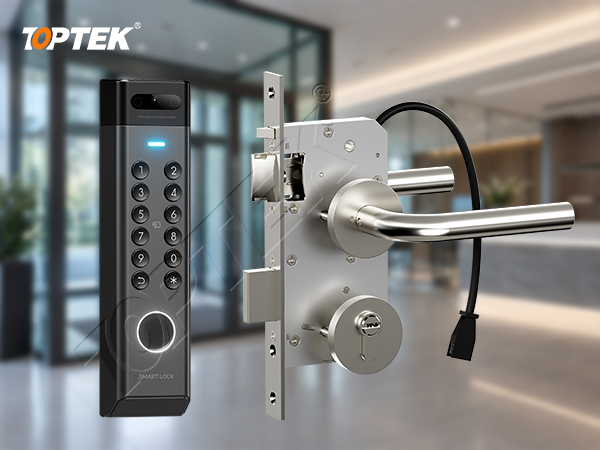
Before judging the controller, confirm that the door moves freely, the lock and strike meet correctly and the handle operates as specified. Include the final closer, seals and cable route. A loose bench sample does not reproduce those loads and interfaces. This is why acceptance belongs to each installed opening, even when its lock type has already been selected.
Record what the user can actually do
| Step | Physical result to observe | Matching record |
|---|---|---|
| Normal secured condition | The required locking points engage and outside operation matches the chosen function | Opening number and expected input states |
| Authorised entry | The specified outside action opens the door during the release period | Credential event and control output |
| Door closes again | The leaf closes normally and the selected lock re-engages | Physical latch result and applicable status signals |
| Inside exit | The approved inside action releases the door | Separate result for any request-to-exit signal |
| Approved power interruption and recovery | Entry, exit and return to normal match the specified power-loss function | Actual behaviour before and after power restoration |
Perform power-interruption and other exceptional tests only under the authorised site procedure, with responsibility for the opening agreed. The project’s applicable safety requirements and the model instructions control the test method. A generic checklist does not establish which fail mode or exit arrangement the building requires.
Use a mismatch to locate the next check
If the controller grants access but the outside handle cannot open the door, retain that observation before changing settings. The next checks concern the configured output, connections, power available during operation and the lock’s physical release. Repeatedly changing the credential permission will not resolve a mechanical obstruction.
If entry succeeds but the door does not secure after closing, inspect the closing and re-engagement sequence. If the door secures physically but the screen shows the wrong condition, investigate the fitted status contacts and controller interpretation. These different observations should not be grouped into one fault described only as “lock failure.”
Where monitoring is fitted, identify the source of each signal. Door position, latch or deadbolt state and request-to-exit describe different conditions. A contact changing state is useful only when the acceptance record explains which physical condition it represents.
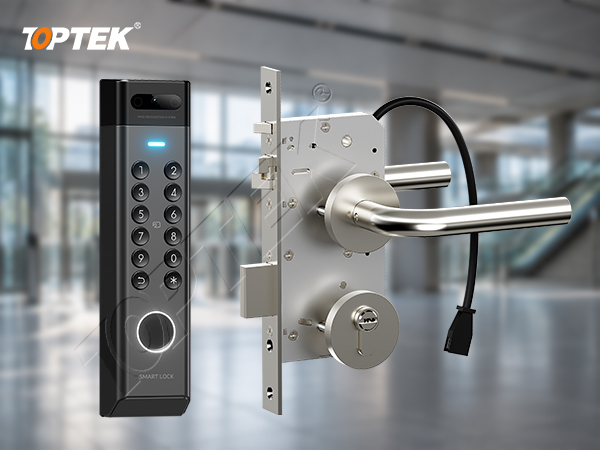
Connect product selection with project handover
TOPTEK supports engineering and OEM or ODM coordination across product requirements, sample development and production follow-up. Its laboratory information explains the product-testing capability. Product tests and an installed-door acceptance record answer different questions: the latter captures the specific combination of hardware, wiring and site settings.
Keep the model and configuration, wiring revision, opening identifier, accepted results and corrected defects together. When a controller setting, lock function or hardware component changes, revisit the affected operation. This gives after-sales support a defined starting point and helps a repeat order preserve the accepted function.
Request a configuration review before project handover
Email TOPTEK the opening schedule and selected lock reference, together with the intended entry and exit sequence, controller details and wiring drawing. For an installed problem, describe the physical result and the matching system event. That information helps the discussion reach the responsible interface without assuming that every symptom requires a replacement lock.